Ikea Hack: DIY Built-ins
- Caroline Sears

- Mar 16, 2021
- 3 min read
This post contains Amazon Affiliate links
When we decided we were going to do DIY built-ins in our living rooms, I think I saved 100 Pinterest posts on how others have done their builds. I thought about building custom shelves, but that was a little complicated and would have taken too long for me at the time. So I landed on doing built-ins using a Billy Bookcase Ikea hack.
Billy bookcases are great for several reasons:
They are extremely versatile. They come in several different widths and colors. They can also be painted to the color of your choosing.
They have extenders that make the bookcases taller than they are, which helps with built-ins.
They can be stacked together to create a wall of built-ins.
Crown molding can be easily added to create more character and more of the built-in look.
Doors can can be added to Billy to create additional storage options.
Could the Billy Bookcase get any better? I don't think so.
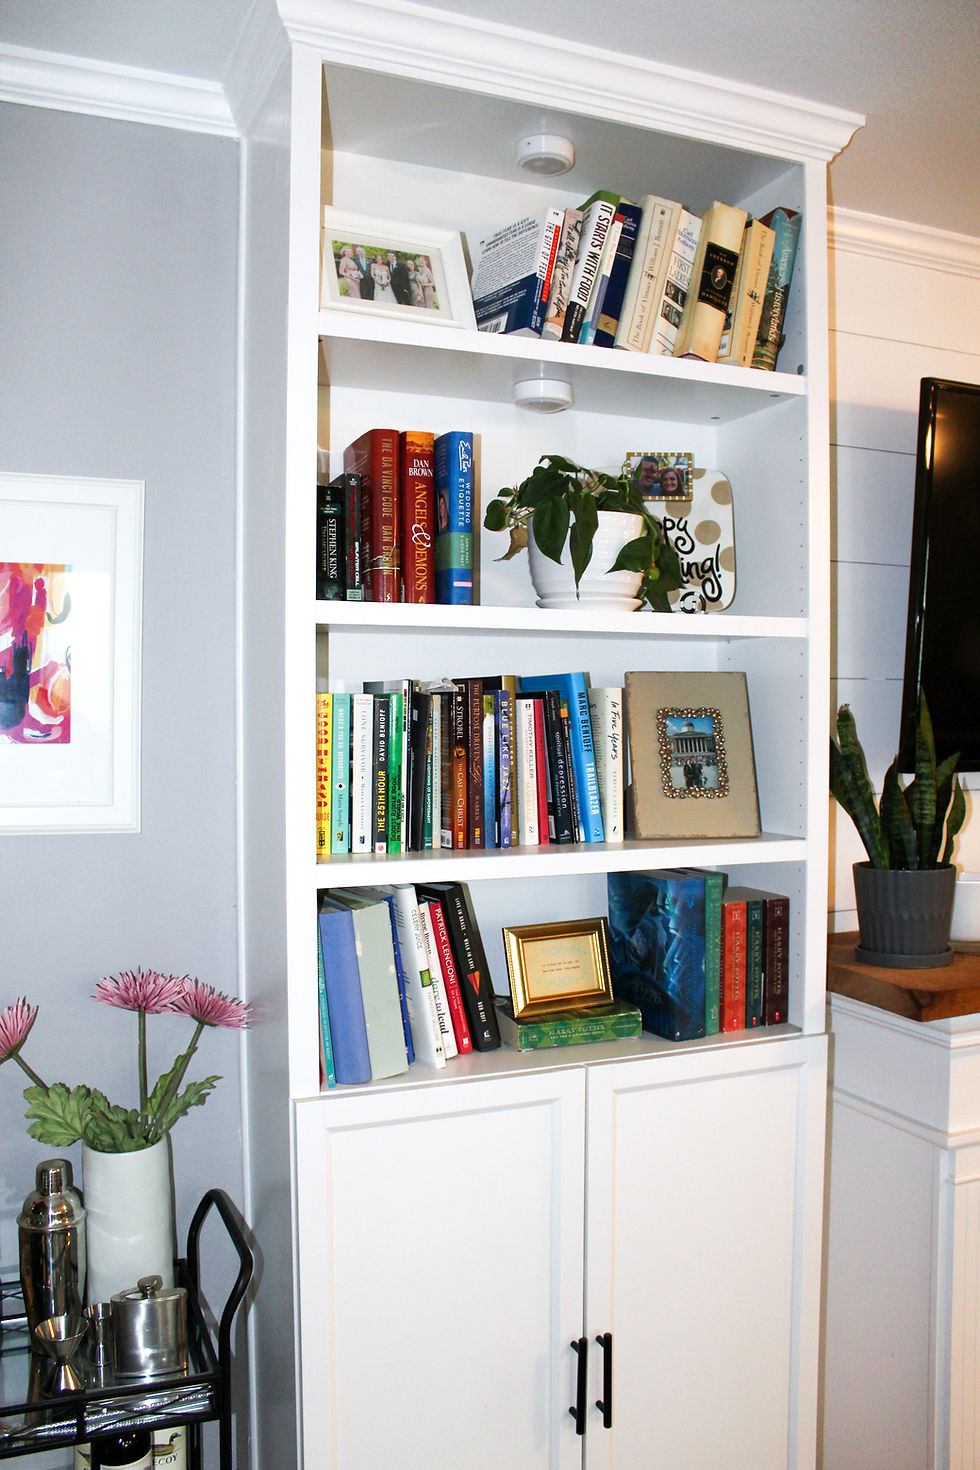
Here is what our Billy Bookcase looked like once we added our built-in magic. Doesn't that look pretty incredible? Heck yeah it does!

Okay so I know you are dying to for me to tell you how to do this DIY in your home. Let me show you.
Supplies
Ikea Oxberg Door x 2
Black Cabinet Pulls - 4 pulls
Crown Molding -10ft
Baseboard - 10ft
Shoe Molding - 32ft
Primer - must use extra adhesive primer to attach to Ikea finish
White gloss or semi-gloss paint (We did Pure White by Sherwin Williams - our fav)
1/4 by 2in hobby board
Tools:
How to DIY Built Ins:
Assemble Furniture
1. Assemble the Ikea furniture per the really fun insructions they give you. Everyone's favorite, right? At this time do not attach the extension to bookcase nor attach cabinet pulls.
Paint Ikea Furniture
2. Layout the drop cloth in a well ventilated area that will fit all the Ikea furniture and layout the furniture.
3. Paint every corner of the Ikea furniture that you want to paint with the primer. Use the brush for the corners and the roller for all other areas. This will ensure a smooth finish. Wait for the primer to dry.
4. Paint every corner of the Ikea furniture with the paint. Use the brush for the corners and the roller for all other areas. This will ensure a smooth finish. Wait for the paint to dry. Paint on another coat and wait for that to dry.
Built-Ins
5. Once the paint is COMPLETELY dry you can start with the built ins. Position the Ikea bookcases where you want them in your room. I wanted to have enough room to put shiplap and a fireplace.
6. Install shiplap (I will cover that later this week and link it here).
7. Position the bookcases back in place and attach extender to the top of the bookcase using the instructions provided by Ikea. Fill any open spaces between the extender and the bookcase with wood filler.
8. Add the shelves to the bookcases.
9. Cut baseboards to fit the bookcases. The corners will need to be at a 45 degree angle. Attach these to the baseboard using the Finish Nailer. Fill in any holes with the wood filler.
10. Cut the crown molding to fit the bookcases using the Kreg Crown Pro tool. Instructions for cutting and installing crown molding can be found on a previous post here. Attach the crown molding to the top of the bookcase and the ceiling using the Finish Nailer. Fill in any holes with the wood filler.
11. Cut the shoe molding to the height of the bookcase and extender. Attach the shoe molding on each vertical side of the bookcases. Fill in any holes with the wood filler.
12. Sand down any holes with sandpaper.
13. Fill in gaps between molding, the wall, and the bookcase with caulk and let dry.
14. Attach the cabinet doors and the cabinet pulls.
15. Measure the vertical pieces of the bookcase and the horizontal shelves that is not covered by the door. Cut the poplar board to those dimensions and attach to the open edges of the bookshelf using the Finish Nailer. This will make the Billy Bookcase wood look thicker and more custom made.
16. Paint all remaining wood and molding the same color that the Ikea Billy bookcase was painted.


There you have it. This may look a little intimidating with all the supplies, tools, and instructions needed, but I promise, you can do this! This project is a true budget DIY and Ikea Hack that makes the Billy Bookcase look like you paid $1,000.


Comentários